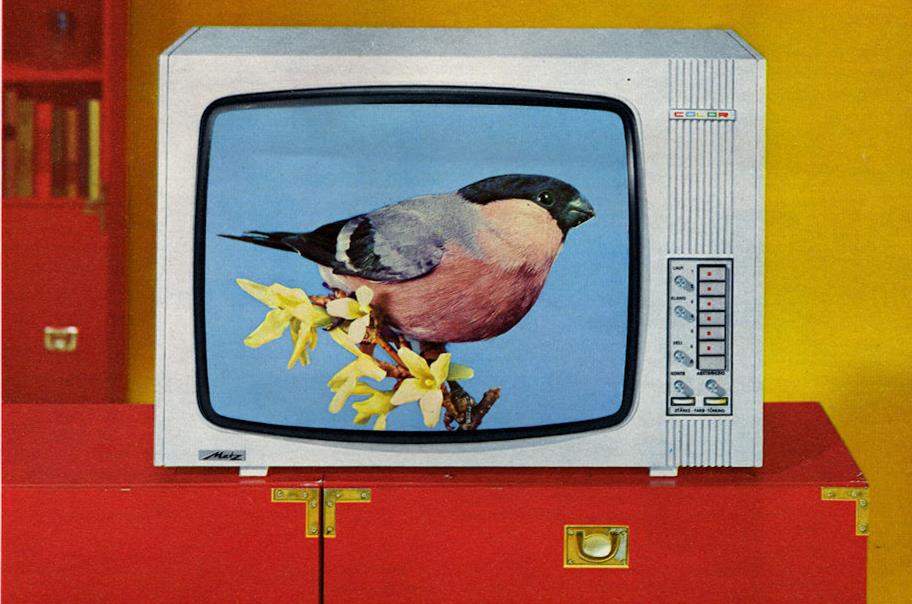
Your brand new television is factory-set to ‘buy me’ mode when you first get it home and tune it in. Contrast and color are intense and unnatural: everything looks a bit like a cartoon…
Thankfully this set-up method – drawn from the birth of color television – will see your Smart TV deliver enjoyable, comfortable picture quality.
The method:
Newsreaders usually make good test material because they’re usually filmed wearing dark clothes with the the best studio cameras and lighting.
1. Turn OFF all of the ‘auto’ or ‘smart’ settings for color, contrast, brightness and sharpness. Do what you have to to take your ‘smart TV’ back to 1976!
2. To begin, we want to develop the image’s shadows and highlights – all the grey-scale from white to light-grey and dark-grey to black. Contrast and brightness are, to a picture, like treble and bass controls for sound; they govern overall tone. To set them, we have to start with a black-and-white image. Turn the color setting as low as it goes.
3. Contrast adjusts the ‘white level’. You’ll notice that the factory settings show a lot of ‘pure white’ on the screen. I actual fact, most of what you see as ‘pure white’ on the screen should be light grey. Adjust the contrast setting (usually down) so that the screen’s only ‘pure white’ glints are catch lights in eyes and twinkles on chrome and salesmen’s teeth – everything else should be a shade of grey. In setting that correctly, you should now see the full range of light grey tones.
4. Similar to contrast, brightness adjusts the image’s ‘black level’. Fabric folds and pinstripes in jackets make good test subjects. Adjust the brightness control (usually up) so that details in shadows become visible. When the brightness is too high, the picture takes on a ‘milky’ look and you’ll need to adjust it lower. Another way to achieve a good result is to start high and turn down the brightness until the ‘milky look’ fades. You should see all of the shades from dark grey to black. It’s usually harder to settle on the right brightness setting so take you time.
5. Contrast and brightness affect each other, so double-check your contrast setting in case brightness setting has changed it and, if it does needs changing, double-check the brightness.
6. Next, we want to achieve the highest color setting from your television without causing blurriness. You see when colors ‘bleed’ into one another when the color is set too high. Using the skin of your own hand as a guide, increase the color until the on screen skin-tone begins to look realistic. If the color is high, skin tones will take on a glowing orange or pink look. If its way too high, edges between color blocks on the screen will look fuzzy.
And that’s it!
That’s how we adjusted TVs in the ‘70s & ‘80s. There are a few more features in your new TV to bring it into the new millennium!
7. ‘Sharpness’ is a crude edge enhancer. Your television increases ‘sharpness’ by outlining all the elements of your image with thin black and white lines. You can see it clearly on text where it looks like ghosting. Turn the sharpness setting down until no ‘outline’ or ‘ghost’ is visible – but the picture’s not blurry – usually close to the minimum setting.
8. If your television has a color temperature control, adjust it so that the image color looks sharp – and doesn’t fuzz or bleed – usually cool or natural.
9. If your TV has a ‘Tint’ control, you can adjust the cursor a few steps to the right or left until you achieve a picture with the least amount of color in it. Red and green tints neutralize each other when the tint is perfect so when the color level slightly drops, you have usually achieved a natural tint level. Simply adjust the color up a notch or 2 until it looks bright and clear again.
We’re looking for an image that looks like a photograph. It has an illusion of depth and believable natural color. It should be comfortable and relaxing to watch – and look a good deal better than the TV you originally unpacked…
Check out our ‘muses’ in the vision category here: https://sbhifi.com.au/?product_cat=vision
